Trip Report
Basic Rock Climb - Pinto Rock/Bowling Alley
Pinto Rock, where every rock holds a surprise, will it hold or will it explode? Climb Pinto Rock for the world class epic views, all the while avoiding ancient lava rockfall. All with a zero'ish approach!
- Fri, Aug 30, 2024
- Basic Rock Climb - Pinto Rock/Bowling Alley
- Pinto Rock/Bowling Alley
- Climbing
- Successful
-

- Road rough but passable
-
We found NF-77 in decent shape with no issues on our AWD vehicles. Previous trip reports indicated "is in pretty rough shape, with AWD Subaru lost traction a few times." There are several more common forest roads (Mt Pilchuck for instance) that are in worse shape than this one. We dont know that we would take a low clearance car on this road or not, but if you have a Subaru you wouldnt have any issues with the few minor potholes encountered on the road.
There is cell coverage (two to three bars) in areas (I had AT&T), such as at the Pinto Rock parking lot, places along the route and on the summit.
The purpose of this trip report is two fold. One to explain how our own climb went, and two more importantly to provide some beta for the next team to save time with additional information. Find the section for RAPPEL BETA on the beta on how and where to find the rappel station.
Planning
Pinto Rock was chosen as a way to get our basic students a rock climb to graduate. As of Pinto Rock was chosen as an introductory rock climbing route for our beginner students to graduate. As of August 30, 2024, it is still classified as such, so we decided to take advantage of this opportunity. While its classification may change in the future and be reclassified as a crag climb, for now, it remains available for us to use. This climb marks my fourth mentored lead in my journey to become a rock climb leader, and I want to thank Bill for his confidence and for providing me with this opportunity. Originally scheduled a week earlier, we postponed the climb due to rain, which turned out to be one of the best decisions we made. The clear weather conditions allowed us to enjoy stunning views of the volcanos, from Mount Hood to Mount Baker, and everything in between, making the climb a truly magical experience for all.
Carpooling from the Wilburton Park in Ride in Bellevue, we left there at 5:30AM getting to the Pinto Rock parking area just after 8:10AM. No other parties were seen the entire day, we had the place to ourselves.
THe Climb
With four solid rope leads, and four students, we opted to send two teams to climb Bowling Alley 5.4 (aka Regular Route) and Cobbles 101 (5.7) since we would be in eye shot of each other and both routes would converge at the top of pitch 4.
Like Sherrie Treckers trip report Gear used: 4 quickdraws, 4 single runners, 4 double runners. I took 4 double runners and 9 single runners. With leaders taking everything in between. Those that took protection didnt place any. Slinging rocks to supplement bolts is the way to go. Every one of used approach shoes or mountaineering boots. No one used rock shoes and everyone was grateful due to the easy climbing.
We were able to find Bowling Alley identifying the start based off this picture from mountain project. I joined the second team to climb Cobbles, but we later realized that Cobbles starts on the same arete as Bowling Alley. This meant that both teams climbed the first three pitches of Pryoclastic (5.10a), which turned out to be surprisingly easy, around the 5.7 range. The actual 5.10a section didn't begin until the fourth pitch. (See the lessons learned section for additional details.)
Also of note, note of the climbers on the Bowling Alley route had any reported issues of route finding.
Regardless of whether we climbed Bowling Alley, Cobbles, or the initial pitches of Pryoclastic, the climb itself was straightforward and well below the 5.7 grade. Some sections were merely a scramble with enormous hand and foot holds reminiscent of those found in climbing gyms. One of our lead climbers, Steve, even commented on the existence of such massive jugs for handholds, expressing surprise.
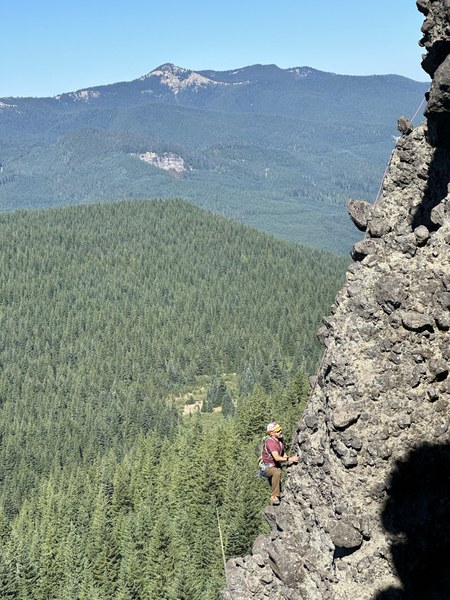
Danyel crushing the climb
Climbing Pinto Rock was a cautious endeavor, where every step required triple-checking, slow movements, and testing each hand and foothold. It was evident that some rocks were barely held in place, and it was not uncommon for rocks to "explode" out of their positions along our route, raining down on the climbers below. Ensuring climbers' awareness of this risk and how to deal with rockfall, both from the leader's and follower's perspective, was crucial. The frequent shouts of "rock, rock, rock" in the videos below emphasize this concern. In one case my second climber Alyssa had a volleyball sized rock break off, and I'm pretty sure it held for me. Fortunately, no one was hit by anything major, although all the leaders were nervous, as every rock held a surprise – would it hold or would it explode? This apprehension is evident in my pause in the videos on pitch 4, just off the anchor.
- Insta360 Climbing Videos (disclaimer language warning)
- Edit 10/08/2024 My Partner and I climbed Bowling Alley 5.4 on Sunday, here is the Insta360 Climbing Videos for future beta
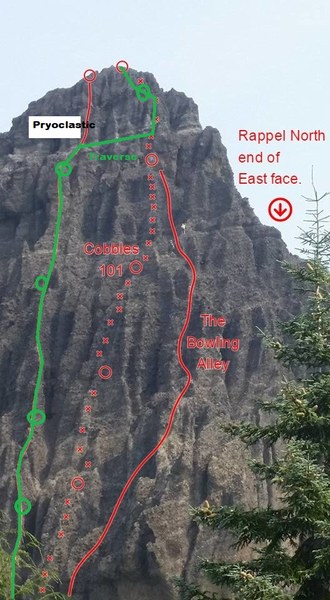
Route we actually climbed in green. We should have been on the middle dotted route. Note the 5.10a section starts above pitch 4 (before our actual traverse)
Pitch 4, our traverse pitch
As we approached the start of Pyroclastic Pitch 4, we were unsure about the route's direction. While we could see the top of Pitch 4 where it linked up with Bowling Alley, the bolts seemed to disappear. We decided to traverse approximately 100 feet to the climber's right to connect with Bowling Alley proper. In hindsight, we realize we were completely off route, but the actual path of Cobbles remains unclear. Steve led the traverse, slinging rocks along the way before clipping a bolt on Bowling Alley, then scrambling up and around to the right until we reached the shared anchor at the top of Pitch 4. Unfortunately, this detour generated significant rope drag, the worst I've ever experienced while climbing. To overcome this challenge, I had to set up a 2:1 hauling system, using my body weight to pull up the rope. Climbing pitch 5 was a breeze and we were greeted with the best views our bravery of exploding rocks provided. Beta: Look for chains at the feet level from at the 11 o'clock direction when the rock becomes less vertical and more scramble.
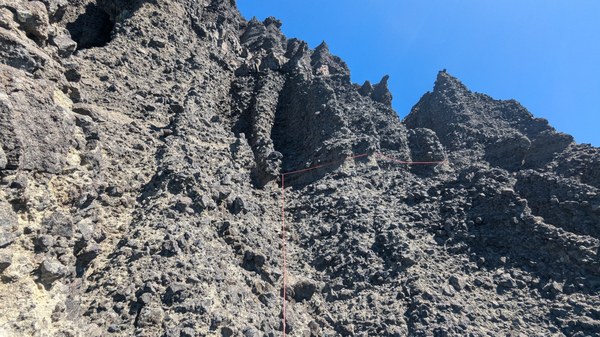
Note the rope following the traverse line, with me at the top of the anchor at the base of pitch 5.
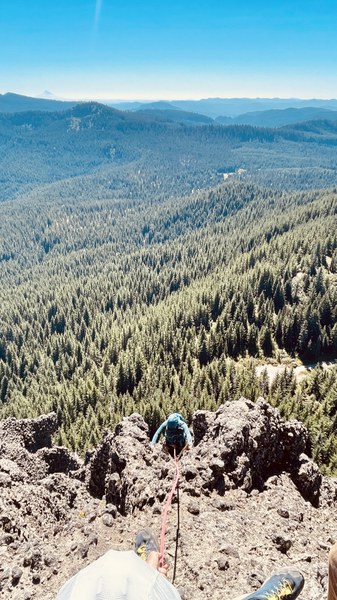
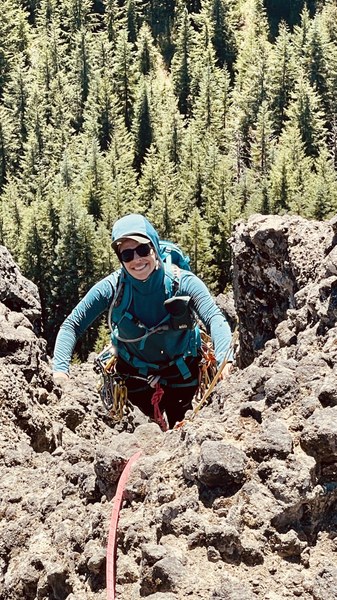 Alyssa topping out
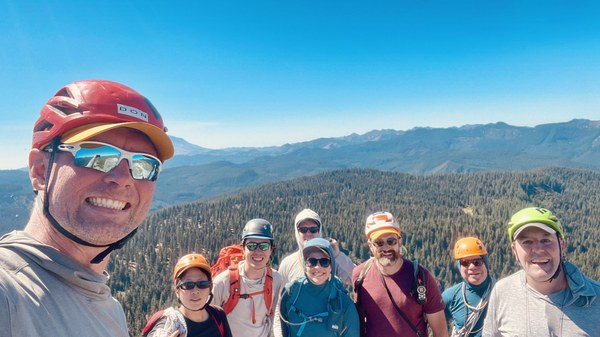
Our Amazing group of climbers, three of which (Allysa, Danyel and Griffin getting rock credit for basic graduation.)
Rappel Beta
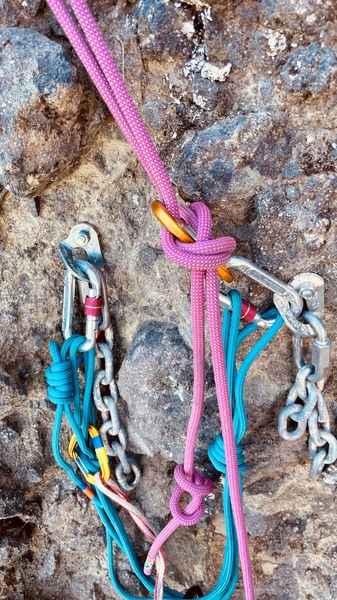
The pictures are going to provide the best indication on what to look forward to. After tagging the summit register keep walking around maybe 200 yards or so climbing 5 feet over a rock formation before descending about 20 or 30 feet to a chock stone like tree that is blocking your path from continuing the ridgeline. This tree and the inability to safely go around it marks your rappel station on climbers right. For us, we arrived at this impasse, tried to figure out a way around it when I turned around and I literally had my back up against the anchor and didnt realize it. I installed a brand new orange GM Hardware Rappel Ring replacing an older ring of unknown age.
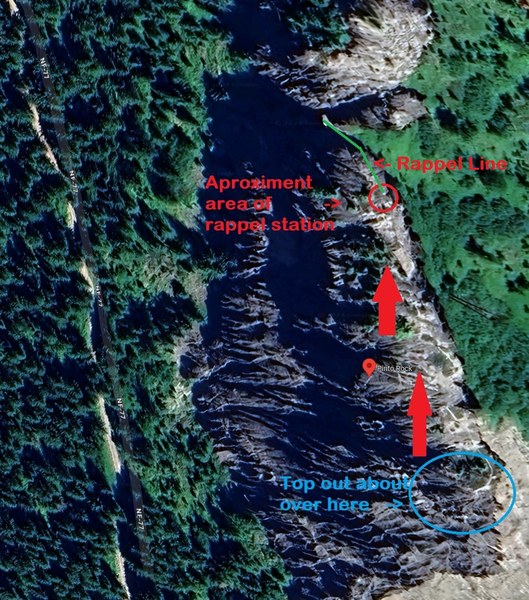
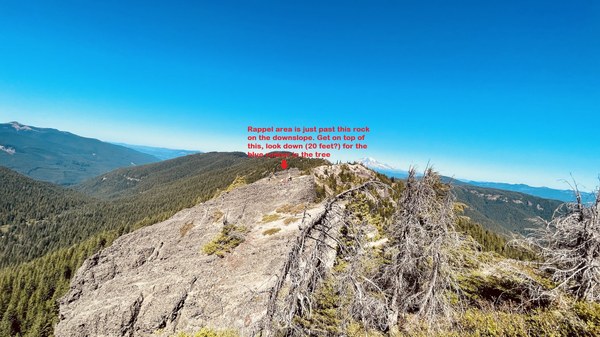
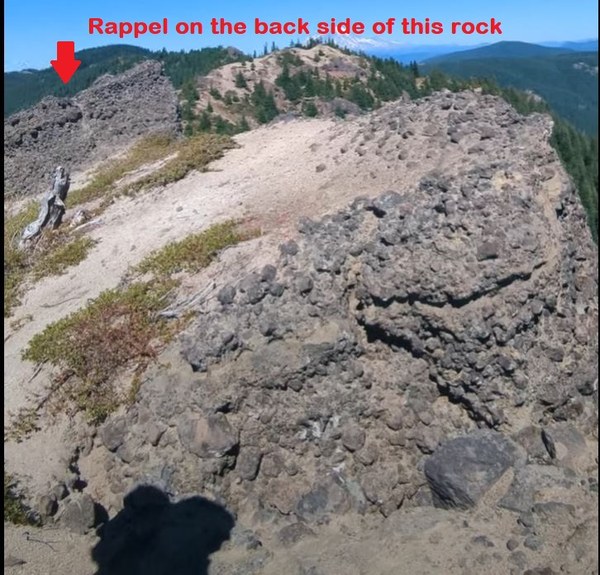
The description and view of this picture is what your looking for: Note as of 10/6 the "blue" runner has completely faded to grey matching the color of the dead tree (pretty hard to miss now). So watch for for the terrain association. 
Once the anchor is located, your going to want to rappel at the 10 o'clock position (if your looking over the edge down with the anchor at your right shoulder. Make two rappels with a 60M rope or make one double-rope rappel to the ground (although others report that a double-rope rappel will get your rope stuck). In the below picture your rappel line is in red. Start by rappelling straight down about 40 feet till you hit the ground directly below the rap station, then start your movement to your 4 o'clock position off your right hip (climbers right.)
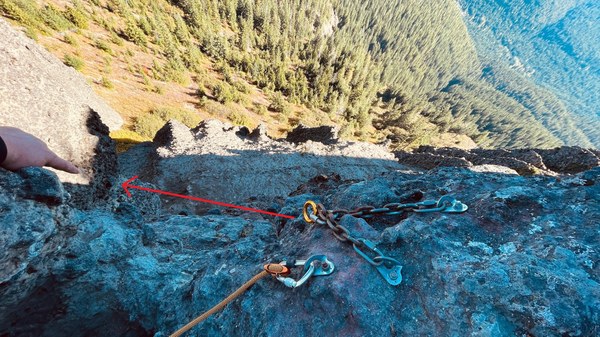
On Rappelling with a 60M rope you will find a set of bolts in the green band located in this picture from mountain project, resist the urge to use them and instead keep going about 30 feet below this to find another set of chains with a solid ledge. A 60M rope with rope stretch will just get you to these. Knots and using the middle of the rope are extremely essential for this to work out. I opted to close the system further by clove hitching the ends of the rope (with knots still in tact) to the anchor itself ensuring that someone doesnt go past these ropes. From here another rappel down to the dirt path at the 4 o'clock position gets you to the base of the route.
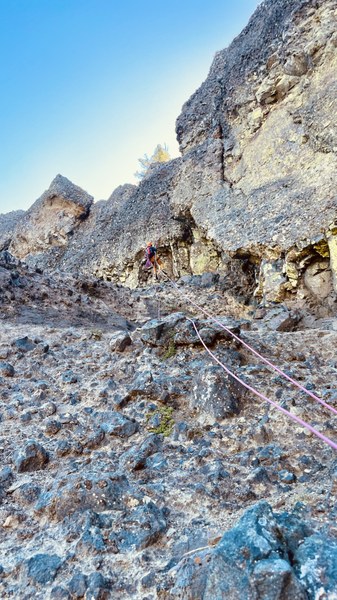
Yu-Chin on rappel and next to the first set of rappel chains.
Anchor at the base of the second rappel. Note the rope ends with knots still attached on the 60M rope.
Walk off beta
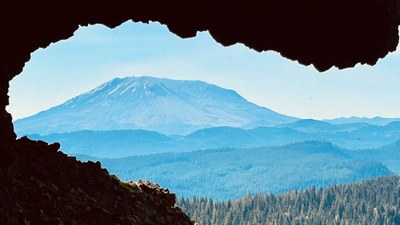
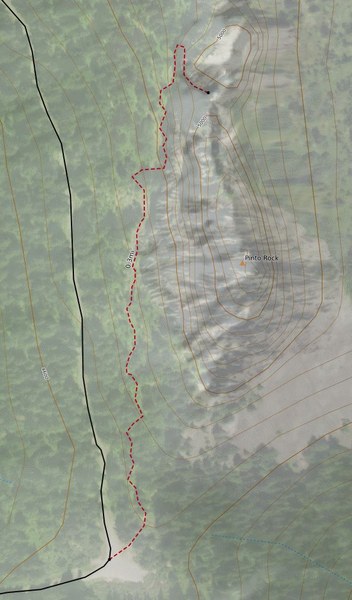
Once at the base of the rappel route, find the log with the amazing cusp view of Mount Saint Helens, follow the path along the right hand side of this to the eventual path to get back to your cars.
Lessons Learned
- Risk Management (and my conclusion): Is absolutely huge in the outdoors. We didnt expect to start on the wrong route, and when faced with the situation the leaders (myself and Steve) discussed our options, communicated what we thought was the best solution was for the safety of all of our climbers and made the best possible decision given all the variables at hand. A lot could be said/discussed about managing risk outside like this article from American Alpine Club. Ultimately our climb was successful by everyone making it home safely. This climb provided us a great opportunity to ask "what could we have done differently?"
- Mountain Project doesnt always have the best beta on routes. One should research as much as they can from multiple sources (if available) as well as their own judgment (are we on the right route, if so how do we know for sure?)
- Mountain Project webpage has more pictures online than on the smart phone app. Not sure why this is, in our case the actual pictures of the rappel station were not on our app.
- Sometimes the route description can match up to another route, even one 100 feet away. Again asking your self the question "how do I know for sure" and dont assume will make a huge difference.
- Rockfall is real. Everyone knowing how to deal with rockfall, what to do, what to say is critical to everyone's safety.
- Yellowjacket Tower or Pinto Rock, and whats the difference? (In my opinion), someone had asked me would I do Yellowjacket tower (see my last report) and what was the difference between the two? Both have to deal with the mitigation of risk. With Yellowjacket you have to deal with managing the ascent and descent of the loose sandy gully than it is about the technical climbing. Whereas Pinto rock is managing the rockfall associated with the ascent. Plus you cant beat the views of all the volcanos at once on a clear day from Pinto Rock.
 Don Sarver
