Trip Report
Dragontail Peak/Serpentine Ridge
Fun romp in a pretty mega setting. Figured I'd write up another trip report since the last one is from 2016.
- Thu, Sep 1, 2022
- Dragontail Peak/Serpentine Ridge
- Climbing
- Successful
-

- Road suitable for all vehicles
Summary
Great route! Very committing though, have to be on top of things for route-finding, climbing the crux pitches, and either simul-climbing or doing lots of short pitches or else you're going to be in for a very long day (or two).
Rough timing (cumulative)
- Car to far side of Colchuck Lake: 2 hrs 15 minutes
- Waiting for it to not be pitch black out + a break: 2 hrs 45 minutes
- Reaching base of route: 4 hrs
- Start climbing: 4 hrs 20 minutes
- Summit: 15 hrs 30 minutes
- Back to car: 19 hrs 30 minutes
Gear
- 60m rope
- Single cams of 0.1, 0.2, and 3. Doubles of 0.4 to 2. I think we placed every size we brought over the course of the climb.
- Nuts, offset nuts, tri-cams. Also used a bit of all of these.
- Lots of single slings, 5 double slings. We used lots of doubles on the simulclimbing.
- Rocky talkies. Super helpful for communication.
- InReach
- Petzl Gully Ice Ax for descending snowfield.
- Petzl Leopard FLs for trail runners for descending snowfield.
Details
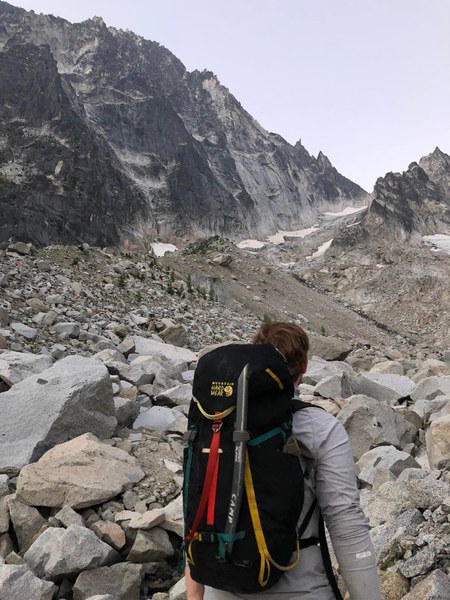
We left the car at the Stuart/Colchuck Lake trailhead at about 3:10am after a night at Munchen's (recommend) and had a very uneventful hike to the far side of Colchuck Lake in about 2 hours 15 minutes. Saw one other person awake that early, probably somebody fishing as we saw poles for that at the camps. We moved too fast and took a good 30 minute break to wait for it to not be pitch black out, and then began ascending up towards the base of the route. It's another 1,000ft feet up the moraine from the lake, heading up towards the col for Colchuck Peak. This starts as working your way through boulders, some trees and brush, and then turns into being on the moraine which is a pretty nice hike up to the base of the climb. Overall with the break it took us 3 hours 45 minute car to base.
Photo looking up at the moraine, and then the base of the route. Aim for the colored pile of rocks (also visible from the moraine photo).
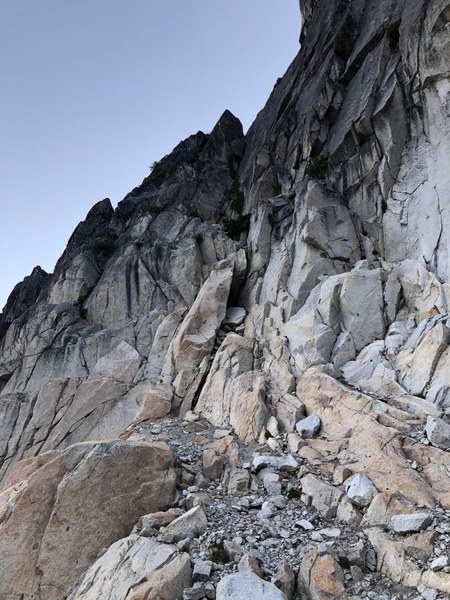
From there, it's surprisingly 5th class right off the ground. We followed the beta that trends left of the visible dihedral/chimney thing which had some exposed climbing, and ultimately led to hundreds of feet of scrambling before hitting the first 5.7 pitch. This follows a broken flake system and is quite fun! From there is a 2nd 5.7 pitch where you just keep going up and right, you'll eventually see a slung rock higher up. Rope up and start climbing towards that, then do an exposed traverse hard right (you won't be able to see where you're ending up til you're around a rock rib), and deal with the rope drag at the base of the first 5.8 pitch.
1st roped pitch. 2nd no photos. Then base of the 3rd pitch which was the crux. Then 4th pitch which was the money pitch. Then 5th roped pitch which was also mega fun and led into a short, 6th and final roped pitch. Multiple sections could be climbed together but there will be some rope drag to deal with.
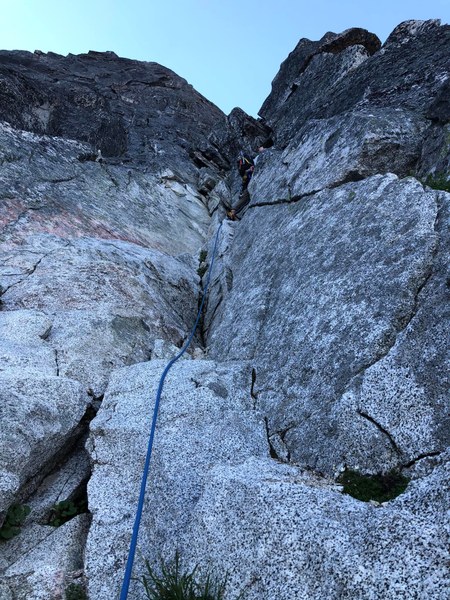
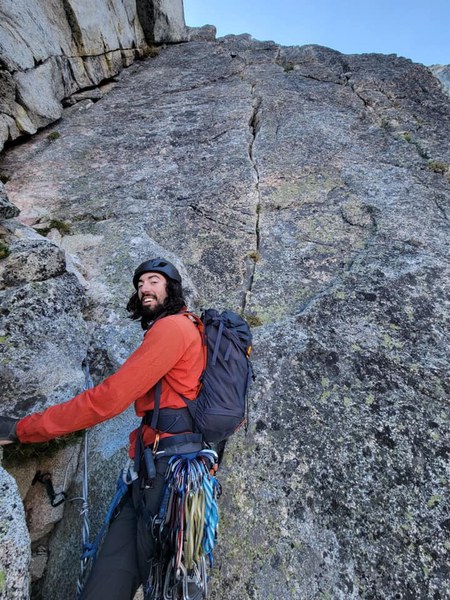
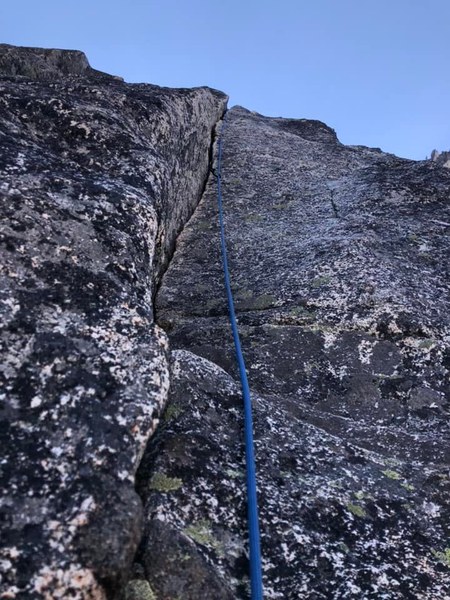
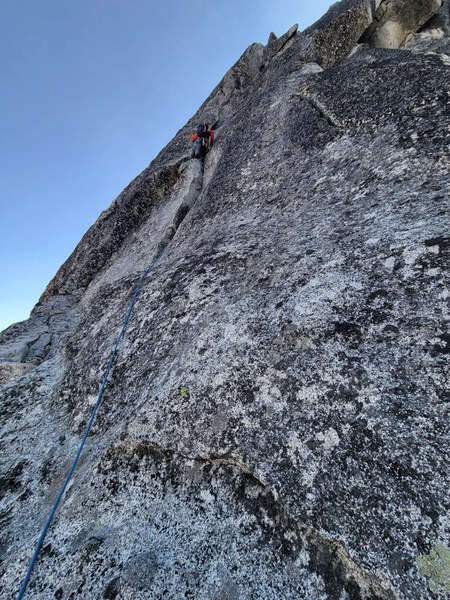
The crux pitch was easily the hardest climbing of the day with minimal feet for the first 15 feet worth of climbing, and takes small gear pretty well with some good finger locks. It eases up significantly from there and then you step across right to the next crack system over. This pitch isn't super long, but is a perfect right facing corner with hand jams, foot jams, and chicken heads for feet on the face. Just awesome climbing. Which leads to another amazing pitch! Do some easy slabby climbing 10ft or so left and up into a really, really fun rampy dihedral that leads to a larger dihedral that awesome takes awesome hands and gear and has more great feet either in the crack or on chicken heads on the face. The 6th pitch was short, from the anchor on top of the dihedral you'll see a rightward leaning rock in front of you. Stay just left of that into a short section of off-width climbing that protects pretty well, but is physical with a pack on. This then transitions into a short, easy chimney heading up to a ledge where we built our last anchor of the day.
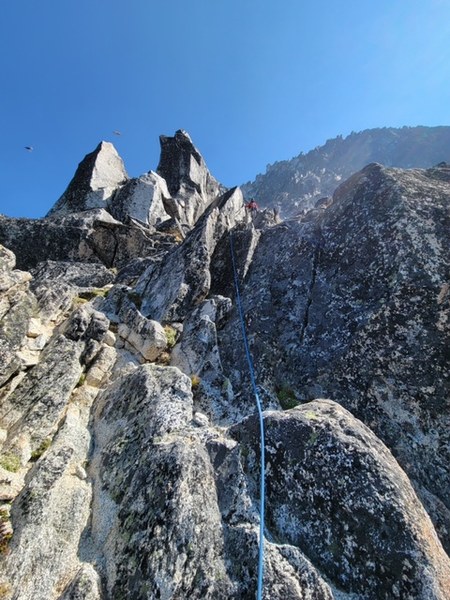
After those pitches we simul-climbed for a really, really long time with 1-2 short pitches. This section is long and generally goes up and left the entire rest of the way until reaching the summit ridge. It's anywhere from 3rd class to brief spots of 5.6 climbing, and the rock quality degrades significantly. Loose and chossy but wider ledges and generally easy, fast moving, go the ways that appear most traveled and you'll stay on easier and more solid terrain, if you stray from that, things could get very loose and interesting. We saw one ledge for a bivy maybe 700ft shy of the summit, it's pretty obvious to spot as there's a wind-wall built. We eventually reached a headwall just shy of the summit that would be 5.7-5.8 climbing, we took a hard left traverse that connected to the top of Backbone Ridge and the ramp back up right up to the summit.
Photo: simulclimbing for forever, and then a photo from a trip I took last year with a pretty crappy overlay of the general line of travel for the route.
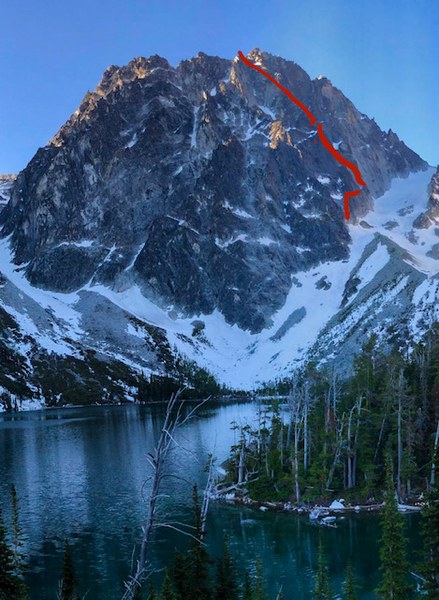
Descend the summit down the snowfield (there's a rap option that can avoid this), walk down Aasgard Pass, and go home.
 Anthony Colosimo