Trip Report
Intermediate Alpine Climb - Inspiration-McAllister-Klawatti Ice Cap Traverse
Two day, single overnight traverse of the Inspiration Glacier to climb Klawatti Peak, Southwest Buttress.
- Sat, Jul 15, 2023 — Sun, Jul 16, 2023
- Intermediate Alpine Climb - Inspiration-McAllister-Klawatti Ice Cap Traverse
- Inspiration-McAllister-Klawatti Ice Cap Traverse
- Climbing
- Successful
-

- Road suitable for all vehicles
-
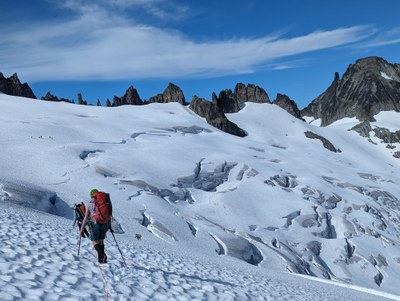
The focus of this trip report will be the rock portion of the Klawatti Peak climb, for which we found few sources of beta. The standard approach up to Eldorado Camp was uneventful, as was the traverse beyond on the gentle slopes of the Inspiration Glacier. While large crevasses were present on the glacier, and the total trip from the Eldorado Trailhead longer and more arduous than expected, navigation itself was straightforward and few technical challenges presented itself on the way to Klawatti Col. It was noted by a member of the team that the Eldorado and Inspiration Glaciers were more melted out than compared to previous years, no doubt as a result of May 2023 heat wave.
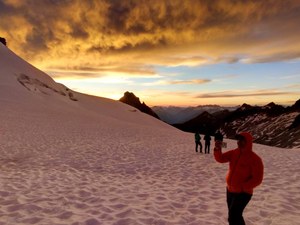
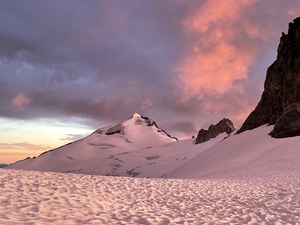
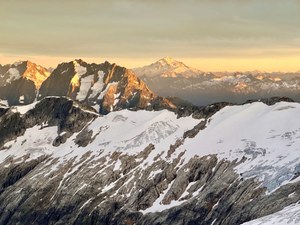
We arrived at Klawatti Col at 5 pm and decided to set up camp on a rock island, enjoy dinner and a spectacular sunset, and to begin the climb at 5 am on the next day.
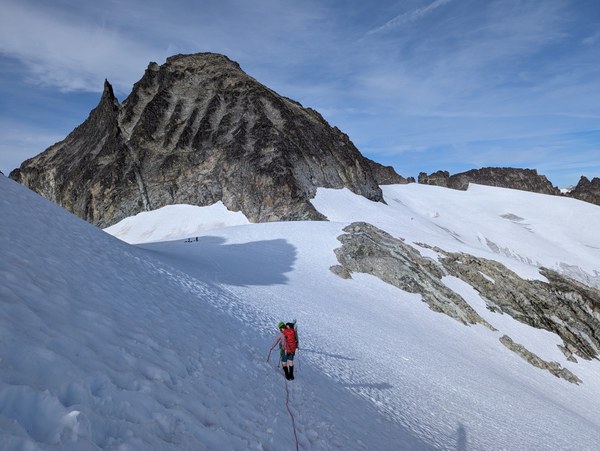
Our team consisted of 2 trad leaders and 4 climbers with new-to-moderate rock experience. We carried a 60m and 70m rope, and light alpine racks. The beta we had collected indicated that we should expect three established rappel stations, and beyond the first two roped pitches, the remainder of the climb would be Class 3-4 scrambling.
Our first sight of Klawatti Peak prompted the impression "I'm not sure how we're going to climb that..." and contrary to the norm, the closer we inspected the southwest face of Klawatti, the less certain we were of the route. Eventually, we chose to ascend a snow slope to a tucked-away alcove, where we chose to start the first pitch of the climb. We believe that the first moves off the ground corresponded to the "awkward slabby moves" described by the various sources of beta online.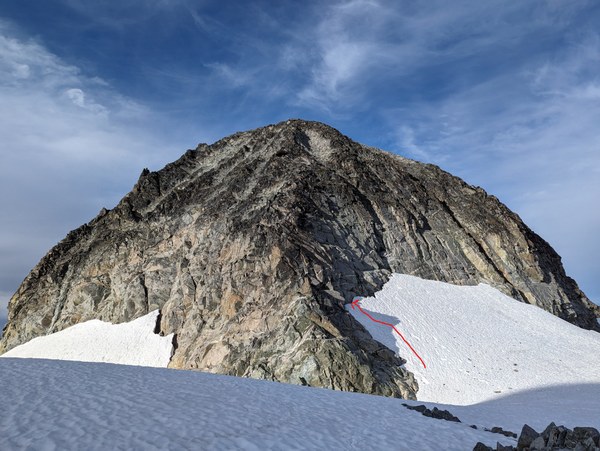
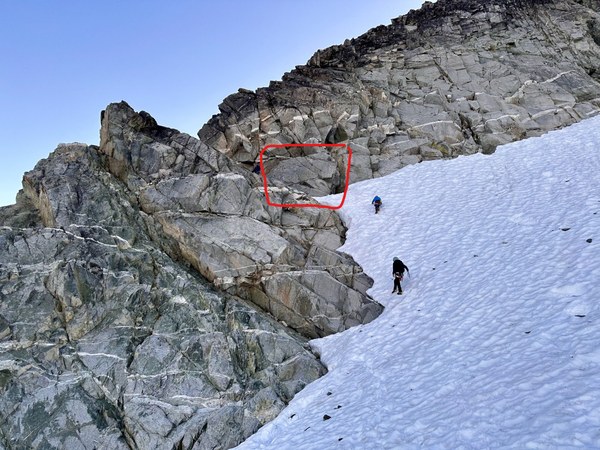

Depending on the season, snow levels may rise to cover much of this alcove, which would likely provide an easier transition. Above the initial slab, our route meandered right, and then left again, until a green cordelette anchored by pitons marked the end of the first pitch. We encountered a bit of rope drag on this pitch, as well as loose choss and rockfall hazards.

Easy climbing for a short (20-30 ft?) vertical distance above this initial anchor brought us to a horn slung with webbing and cord. We decided to end the second pitch here. Unsure of whether there would be further 5th class climbing, we pitched out a third time from here.
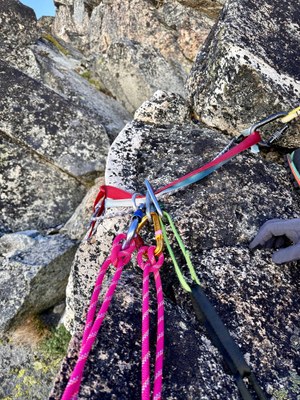
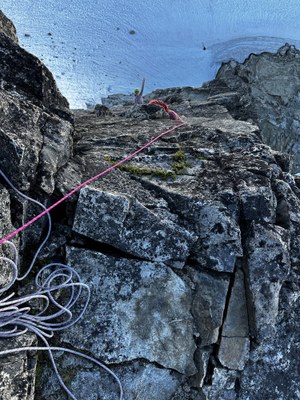
This next pitch ended up being no more difficult than 3rd class. After reaching a solid and spacious bench, we decided to continue unroped. At this point, we were perhaps halfway to the summit in terms of vertical gain.
Exposed, sustained Class 3-4 scrambling dominated the next 200 ft of so of vertical gain. We stayed on the ridgeline for much of the climbing, trending left & right of the line at various times - multiple options & variations available, and loose rock and dusty ledges throughout. We found a third anchor (blue webbing) to the climber's right of the ridgeline, atop a narrow and chossy ledge, but the sustained exposed scrambling extended beyond this point.
Finally, at about ~50-100 ft from the summit, the Class 3-4 terrain smoothed out into dusty Class 2 ramps, which took us directly to the summit.
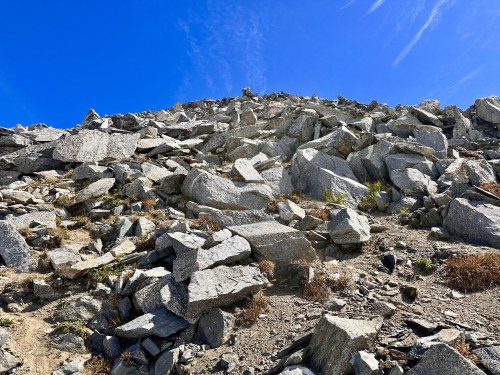
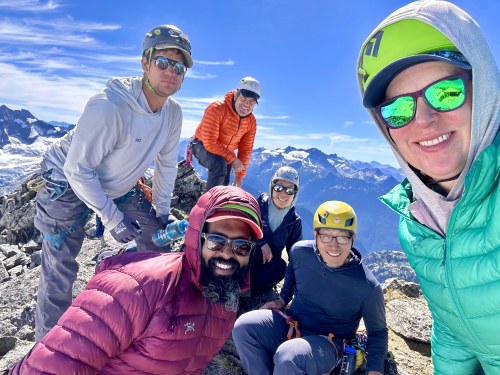
On the descent, we noted that a stretch of downclimbing on exposed Class 3-4 terrain would be needed to reach the nearest existing rappel station (blue webbing tat). In lieu of downclimbing, we opted to establish a new rappel anchor at the bottom of the Class 2 ramp section -- the only problem being that there were far and few boulders that were actually attached to the mountain! After some searching, we slung a seemingly solid horn, which we tested extensively before committing to the first rappel (weighed the anchor while team members monitored for vibration in the rock, etc).
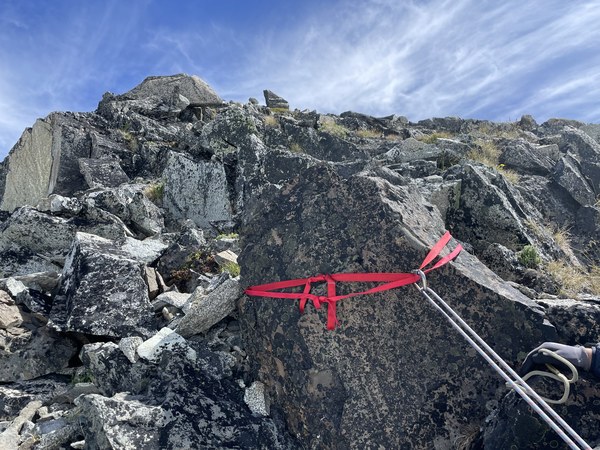 We carefully rappelled from here and stayed slightly skier's left of the ridgeline until we encountered the blue webbing tat. From this station, a full 70m rappel brought us to Class 2-3 ledges, from which we downclimbed about ~50 ft until we reached the webbing+cord tat where we originally ended our second pitch. Another full 70m rappel brought us to the alcove where we started our climb.
All in all, this was a fantastic alpine setting where we gained considerable routefinding experience. As Klawatti is relatively untraveled, the usual hints and clues (surfaces clear of black lichen, established bootpaths, etc) are unavailable. Another personal takeaway from me is that a single overnight is not nearly enough.... any future trips will be multi-day to fully appreciate this amazing region :)
 Linda Li