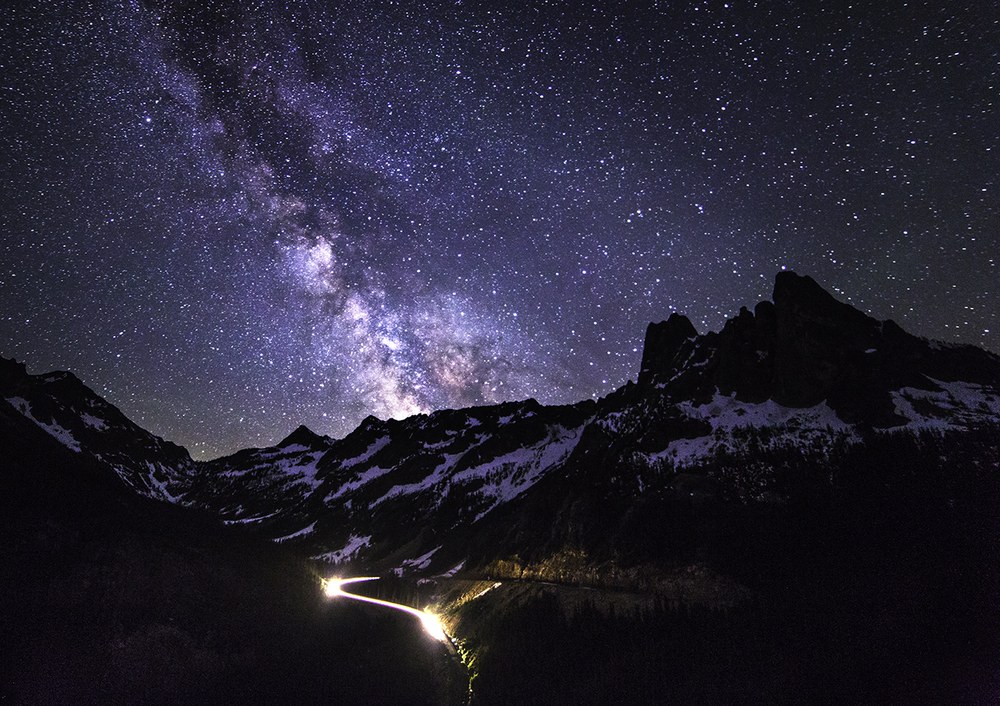
The Spider Meadows - Buck Creek Pass Loop, in the Glacier Peak Wilderness, is one of those trips that I had on the list of must-do for years. I love reading trail guides and imagining the terrain and views from the descriptions. No matter who I spoke to, this loop was described in hushed tones of awe and majesty. I scheduled the trip at the last part of August, during the New Moon. My goal, besides just having an awesome time, was to get an image of Glacier Peak, capped with the Milky Way.
So far in the last two months, I’d been lucky enough to capture Milky Way shots of the other Big Three: Rainier, Adams and Baker. Only one left to go!
The hike through Spider Meadows was spectacular, the lush green valley surrounded with gnashing teeth, the fantastic hike up to and through the narrow defile of Spider Gap, and then my favorite part: Upper Lyman Lake Basin! The stark landscape, rocks, ice and lake created a seductive hold on my imagination. With the exception of one short rain storm the weather had been perfect. I kept hoping that our good luck would last. What better way to celebrate the 50th anniversary of the wilderness act then to get out and enjoy wildness first hand.
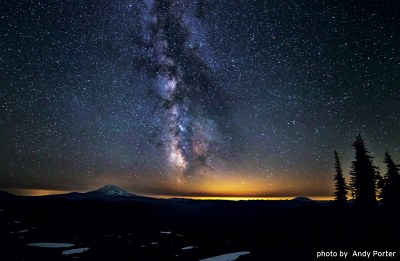
We made it to Buck Creek Pass after three days of hiking, getting our first grandstand views of Glacier Peak. Excitedly we made our way up and around Liberty Cap, looking for a spot to camp and soak in close-up views. I was more than a bit anxious to see whether the clouds would cooperate.
We set camp, ate, basked in a wonderful sunset and hit the hay, er, thermarest. I set my internal clock and as I drifted off to sleep I lay dreaming of starry skies. I awakened at the perfect moment: The strip of Milky Way was right above Glacier Peak. I was almost too excited to get up.
Tripod, camera, shutter release and exposure… all set.
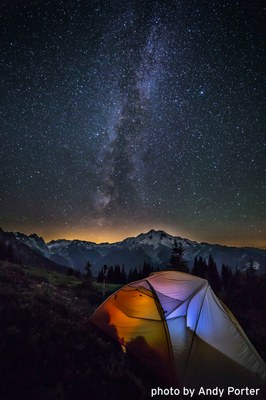
The awe of the moment made me catch my breath. There is something about images of stark, rugged mountains that cause my heat to skip a beat. The sheer size and scope of mountains is remarkable, their gigantic folds and ripples in the earth’s crust look like waves frozen in time. And the space! Casting your view point out further and further stretching until you can see no more... there you are standing atop, both a speck of dust and master of the universe, all in one breath.
We managed to photograph Glacier and the stars - in all their majestic glory just as planned. Not every trip goes so smoothly though. The image below is from the Park Butte Lookout of the south slopes of Mount Baker. I had planned to stay the night at the lookout, but then my hiking partner showed up with only a day pack! So, instead we hiked up late in the day. The cooler temperatures were wonderful and the end of the day light magical. As soon as the darkness came the strip of the Milky Way appeared right above Mount Baker. I brought a special flash light to cast and even glow inside the lookout and, perched precariously on the rocks outside, captured this shot. We stayed at the lookout until 1am, giddy with the stars - and then reluctantly descended with head lamps and flashlights.
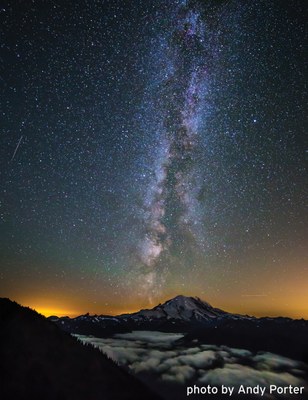
Capturing an indelible image of the mountains involves both luck and planning. Weather and light play such a big part in it. Adding elements of coolness to an already fantastic view is what makes the image perfect. Tents and people, sunsets and storm clouds all add a flavor, a feeling, and evoke such wonderful emotions.
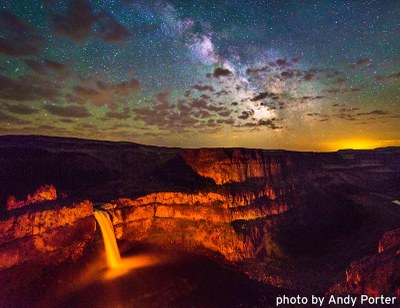
Mountaineering and nighttime photography go together quite well. The biggest challenge in getting good shots is simply getting far enough away from the ambient light of “civilization.” Once you’ve already lugged your stuff, not to mention yourself, all the way out to some fantastic spot to camp, why not take advantage of it by getting some shots of the Milky Way?
Nowadays, I find myself planning my backpacking trips around the moon cycle. There are many web sites where you can see the cycle of the moon for the coming year. The New Moon is when you want to head out. You can safely get great star images three or four days before and after the new moon. Then you just need to supplicate the gods for some clear skies.
Night photography how-to tips from Andy:
- Equipment: DSLR Camera, Wide Angle lens (14mm to 24mm best), cable release, tripod
- Basics: Set the camera on Manual Focus and the adjust the focus to Infinity. (Note: check your lens manual or web site to see exactly how to do this.) Make certain you have removed any filters from the lens. One of my first efforts at nighttime photography was derailed because I didn’t know that I needed to manually focus my lens (The camera finds it hard to autofocus in the dark).
- Exposure Settings: Set the camera on Manual, adjust your aperture to its most open setting (Lowest f/stop)
- Shutter speed: Your shutter speed will be between 10 and 30 seconds. The shorter the focal length of your lens, the longer you can have the shutter open. There are charts on line where you see what your maximum shutter speed can be based on your camera and lens.
- Start with an ISO setting of 800 and try a few shots, then take more images at 1600 and head up. Newer cameras allow you to shoot at higher ISO with less noise.
Andy Porter is a photographer who began his love of the outdoors when, at the age of 16, he completed a month-long Outward Program in the Sawtooth Wilderness of Idaho. Since then, he has hitchhiked many miles, criss-crossing the US. He's trekked in the Andes, lived in the steppes of Siberia and now makes his home in the northwestern corner of Washington. You can see more of Andy’s images on his website, and blog, which includes many of his stories of travel and adventure.
Andy's website: www.northwesternimages.com,
and blog: www.northwesternimages.wordpress.com
 Suzanne Gerber