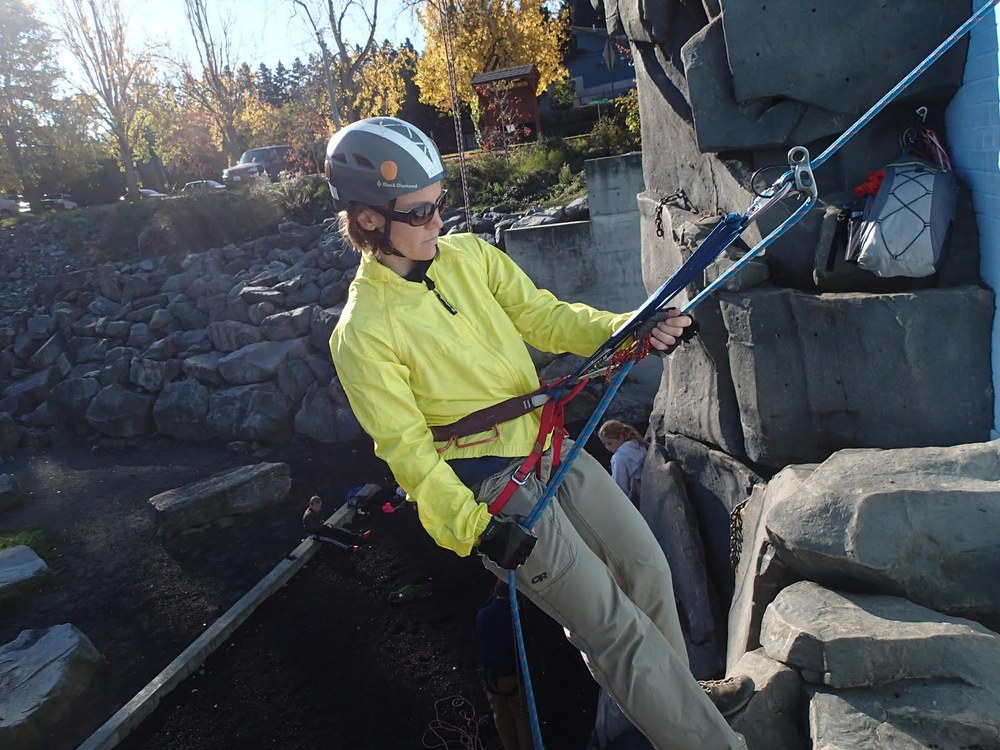
On a scholarship from the Seattle Climbing Committee, two volunteer Mountaineers leaders attended an American Mountain Guide Association (AMGA) single pitch instructor training course. As a result, they returned with techniques and methods that were presented and adopted by the Seattle Climbing Committee: (1) the extended rappel and (2) the pull, break, under, slide belay technique. Want to learn about these techniques? Read what Abby Hunt and Stef Schiller learned....
The Mountaineers strives to be a leader in outdoor education. This means ensuring that our courses are teaching the safest techniques and the instructors and participants are aware of the latest technology in each of the outdoor skills we teach. One of the ways that we stay up to date is encouraging our volunteer leaders participate in advanced leadership and education programs outside of our organization to bring back what they’ve learned and share it with our community.
Disclaimer!!!
Extending Your Rappel
Advantages
- Safer: the position of the autoblock keeps rappel lines in ideal braking position.
- Smoother: the distance between the rappel device and the autoblock enables cleaner descent.
- Snag free: the autoblock and clothing are high and clear of the rappel device.
- Easier to manage group and gear: extension enables more than one individual to setup on the rappel—especially important if the instructor has to rappel first; sides are now free for saddlebags or for switching brake hands.
Materials
- 1 double-length (48-in/120cm), sewn nylon sling
- 3 locking carabiners
- Rappel device
- Material for an autoblock (typically, a 6mm prusik cord)
NOTE THE FOLLOWING SAFETY CONCERNS
1. Tie back long hair.
2. Keep the rappel device in reach.
3. This is not intended for use with a Munter rappel.
Setup for the Extended Rappel with an Autoblock
Watch the HOW-TO ViDeo and read Below
Step 1
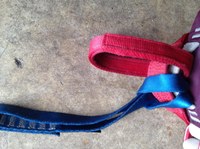
Girth-hitch double-length nylon sling through both hard points of the harness. Note, nylon is preferred to Dyneema for two main reasons:
-
Nylon has a higher melting point than Dyneema
-
Dyneema, when used as a PAS, presents a greater risk of injury in a factor 2 fall.
Step 2
Tie an overhand or a figure-8 knot at the midpoint of the sling. Adjust to enable equalization.
Step 3
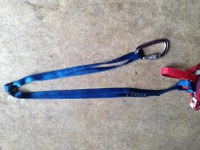
Position the carabiner used with your rappel device so that it is clipped through the two legs of the sling. This will create redundancy once the sling is clipped back to the belay loop (see Step 4).
Step 4
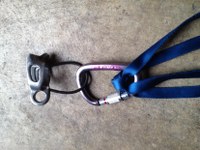
Use a second locking carabiner to clip the end of the sling into the rappel anchor to safely secure yourself to the anchor while you set up the rappel.
Then use a third locking carabiner to set up the autoblock off of the belay loop. Note: this will have the autoblock positioned in a central and secure location well below the rappel device. See below:
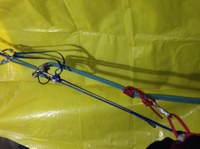
Once the rappel is setup, then test the rappel with the sling still clipped into the anchor (see above).
Unclip from the anchor and clip the carabiner back to your belay loop (see below):
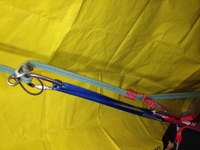
Additional Factors to Consider
- If and when using Dyneema, the same setup applies, but be especially careful about letting your personal anchor develop slack, especially if you find yourself above the anchor.
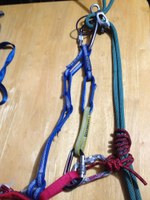
- If and when using a Personal Anchor System, such as the Metolious PAS pictured here, be sure to clip through two of the sewn loops to ensure redundancy (see photo below).
- One of the main advantages of this setup is the ease with which it allows you to use the autoblock. It’s worth the time and few extra dollars to figure out the appropriate length and material that works best for you and the ropes you typically climb with. Many climbers have multiple autoblocks and they decide which to use depending on the day.
Watch!
Resources for Additional Information
- Martin, Jason. “Extending Your Rappel. American Alpine Institute—Climbing Blog. October 10, 2014. Web.
- Gaines, Bob and Jason Martin. Rock Climbing: The AMGA Single-Pitch Manual. Falcon Guides: Guilford, CT. 2014. Print.
PBUS (Pull, BrakE, Under, Slide) Belay – top rope
Seattle Climbing will also start teaching PBUS (Pull, Brake, Under-slide, aka "Pull, Brake, Up-Slide") belay instead of the old fashioned SSS (Slip, Slap, Slide) belay in this year's basic course. PBUS has been the industry standard for quite a while and it has been proven to be easier to learn and safer for beginners. If you learned to belay at a climbing gym or from a guide, you are probably already familiar with the technique. Below are a few helpful blogs and videos:
-
American Alpine Institute on PBUS (blog post)
 Martinique Grigg
 Abby Hunt
